The Master Pattern has two darts for shaping. If you have access to a printer, can print as many copies as you want. If you do not have a printer, follow the instructions below to create a Master Pattern. If you make the pattern out of stiff paper, such as poster board, you can make additional copies by tracing around the poster board pattern.
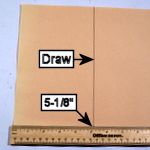
On a sheet of paper or poster board, measure from the bottom left corner 5-1/8" (13cm), then draw a line to the top of the paper.
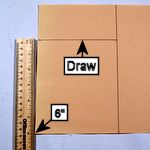
Draw a second line that is 6" (15cm) up from the bottom of the paper. This is the top of the pattern.
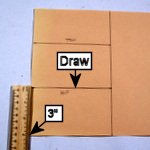
Draw a line that is 3" (7.6cm) up from the bottom of the paper. This is the Hip Line.
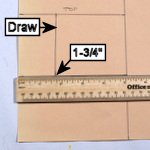
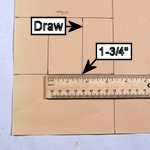
Draw a line between the top of the pattern and the Hip Line that is 1-3/4" (4.4cm) from the left side. This is the first Dart Center Line.
Draw a line between the top of the pattern and the Hip line that is 1-3/4" (4.4cm) from the first Dart Center Line. This is the second Dart Center Line.
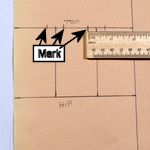
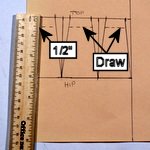
At the top of the pattern, make marks that are 3/8" (1cm) to the side of both Dart Center Lines. These marks are the Dart Width.
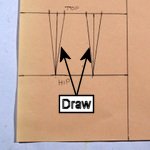
To finish the darts, draw lines from the Dart Width marks to the bottom of the Dart Center Lines.
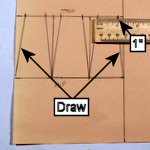
On the top of the pattern make marks 1" (2.5cm) to the side of both darts. These marks are the Side Seam. Draw lines from these marks down to the sides of the Hip Line.
Draw a dotted line 1/2" (1.2cm) down from the top of the pattern. This is the Waist Line. The Master Pattern can now be cut.